

How to publish
1
Verify your email
Publishing requires a verified email. Complete verification from the prompt in-app or verify-email.
2
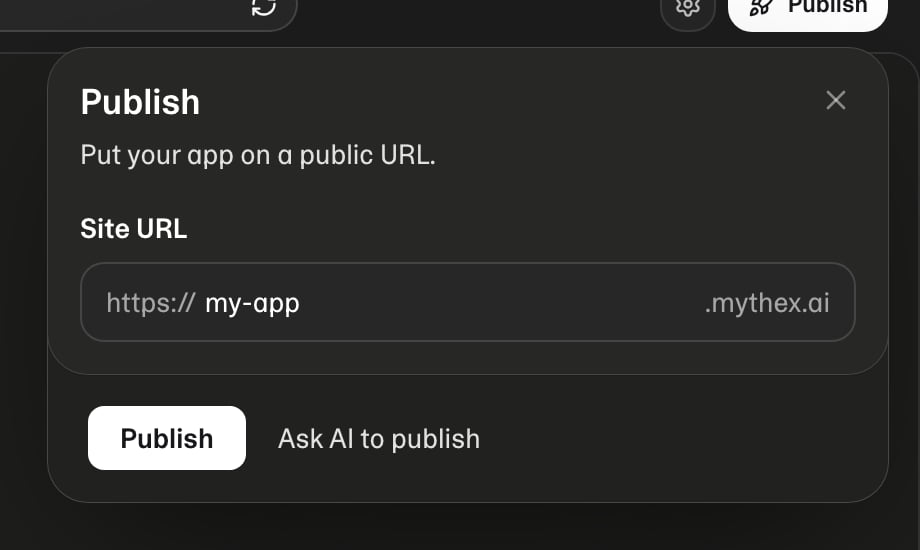
Open Publish
From the project workspace, open the Publish dialog.
3
Choose a slug
Pick an available slug for
{slug}.mythex.ai (or your configured host). Taken slugs fail — try another name.4
Deploy
Confirm deploy. Mythex snapshots the project and boots hosting (scale-to-zero). Compute and attached databases spend from the same credit balance as chat (usage charts label this Run). Bandwidth is included.
5
Share the URL
Open the public URL and share it. Pro can add a custom domain next.
Custom domain (Pro)
After the app is live, Pro can:- Buy a domain in Mythex (Publish → Custom domain → Buy domain, or Domains), or
- Connect a domain you already own (CNAME to
{slug}.mythex.ai)
Updating a published app
After you change the project:- Confirm Preview looks right
- Publish again / redeploy from the publish UI
- Hard-refresh the public URL if you still see an old version (CDN caches can lag briefly)